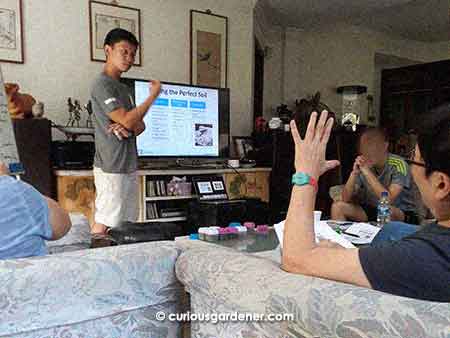
Taking questions from the class in the cosy home setting.
It’s always useful to learn things from those who really know what they’re talking about, so I decided to check out what the Centre for Nature Literacy and Enterprise (CNLE) at the National University of Singapore has to offer. Their Gardener’s Series of workshops caught my eye, and I decided to start at the beginning with the two-day Basic workshop.
There were a few pluses that helped with my choice. Firstly, it’s SkillsFuture claimable – meaning as a Singaporean who has received SkillsFuture credits from the government to use for skills development and lifelong learning, I could tap on my available credits to offset the cost of the course. Secondly, the workshop was going to be held at my permaculture buddy Alexius Yeo’s home, and I never pass up an opportunity to wander in awe around his garden! Last but not least, Alexius was conducting the class. Since he is very passionate and knowledgeable about all things gardening, I knew it would be well worth giving up two Saturdays to learn from him. And so I signed up.
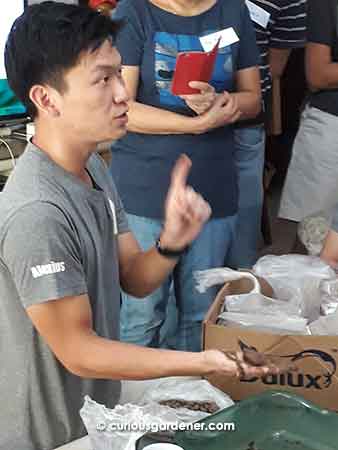
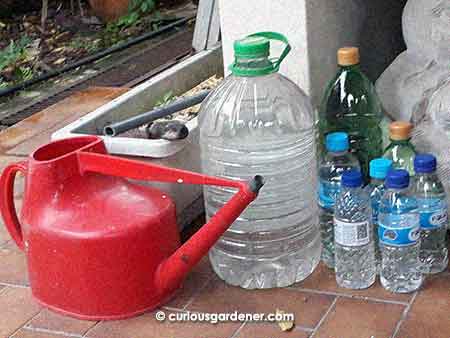
Demonstrating the consistency of soil when different components are combined. Looks gross but it’s great for plants!
The first Saturday dawned sunny but slightly overcast. Twenty-something of us arrived at the house before 9.30 in the morning – and what a diverse crowd it was! There were retirees, people of working age, and a couple of students; and in typical Singapore fashion, the group was comprised of different races and religions. Some people had more experience than others, but the atmosphere was open and good. We were all there to learn, not just from the class, but it appeared there were tips we could also pick up from one another since we had different areas of interest that we each dabbled in.
The first part of the first day was a little heavy on theory, but it was good to start with basic knowledge. Then it got more interesting when we got into the components of soil and how to mix them for different purposes. Samples were passed around, and Alexius demonstrated different ways of combining them for different types of plants. We took him very seriously because he was sharing hard won experience, and we could clearly see the results in his garden.
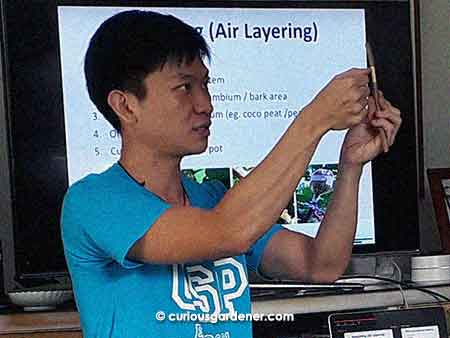
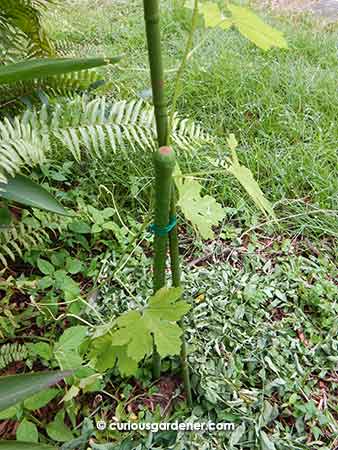
How to prepare the stem for marcotting.
The second Saturday was a bit more hands-on as we learned different methods of propagation and tried them out after Alexius demonstrated them. There was also more opportunity to interact with each other while waiting for our turn to try preparing stems for grafting and marcotting, or during the breaks. We had potluck lunch on both days since we were at Alexius’ home, and it was a good time to circulate and get to know each other. I was tickled to find that I’m not alone in loving to experiment with growing new plants, as many people wanted cuttings and seeds, and had already tried growing interesting plants. One of my classmates was so eager to get her hands on the multi-petaled blue pea flower plant that she gave me a lift home so she could get some stem cuttings from our garden!
Naturally, everyone had questions to ask about their own plant-growing experiences, and Alexius fielded all of them adeptly. He may look young, but he’s one of the trailblazers in the urban farming movement here, and is quite the veteran. There were questions ranging from how to grow certain types of plants to how to manage pests and plant diseases, and more.
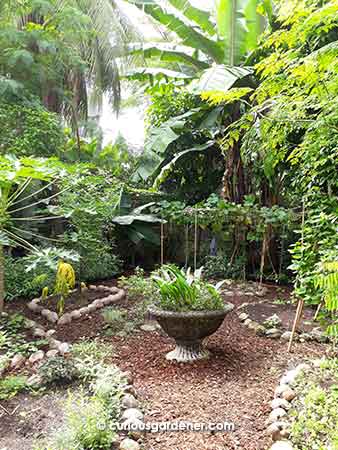
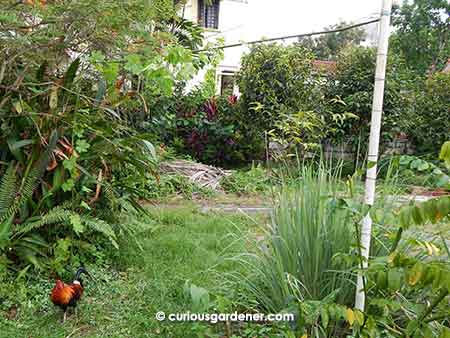
Alexius’ permaculture garden is cosy and serene.
The second session wrapped up with a discussion on the uses and how to best grow some of the interesting plants in the garden. Moringa, basil and sand ginger were familiar, but there were less common ones, like Wandering Jew, joy weed and Moses in a cradle, which can be used to make a cooling tea. There were many more plants discussed, but you should go for the workshop if you want to know more about them. ![]() It certainly provided good entry level knowledge for gardeners and had lots of great tips thrown in along the way, and for my part, also gave me a few more gardening buddies. It was definitely worth giving up part of my weekend for this!
It certainly provided good entry level knowledge for gardeners and had lots of great tips thrown in along the way, and for my part, also gave me a few more gardening buddies. It was definitely worth giving up part of my weekend for this!
© 2017 curiousgardener.com All rights reserved.