
I mentioned recently that I was going to recycle some PET bottles to grow veggies in, and I finally got that done.
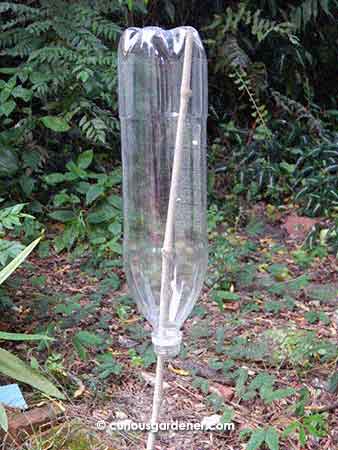
The clean bottle awaiting the paint.
First, wash and dry the PET bottles; then peel off the label. If you want to be a little fancy like I did this time, paint the bottles. Make sure the surface is clean of dust, then apply the paint. I used a matt black spray paint.
As always, apply a light coat first and let it dry – even though it may look uneven. Never spray on a thick coat at one go because it will take longer to dry. Just go with light coats until you get the look you want. I needed just two.
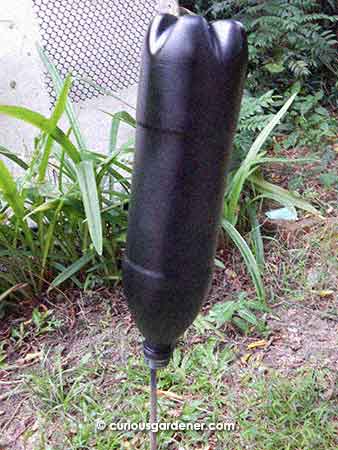
One painted bottle: done!
After the paint dries out, cut off the top. You could do this step before the painting, but I find it’s easier to see the edge of the bottle and get a more level cut. Trust me, I can’t stand slanting edges, and have in the past tried to level out the edge until the height was too low for my purposes! This method worked very well for me.
With this bottle, I wanted to have a bit of a water reservoir at the bottom. So, I filled up about 3-4cm with stones then added a layer of about 2cm of vermiculite that I packed down over the stones. This was to act as a buffer between the soil and stones so that the soil doesn’t slip between the stones and use up the area I want water to sit in. Before adding the soil, I used the tip of a blade to cut a couple of drainage slits around the level of the vermiculite. After that, it was just a matter of adding the soil and plants – in this case, a few stems of Chinese greens that were supposed to compost away but decided they wanted to grow instead. Naturally, I indulged them.
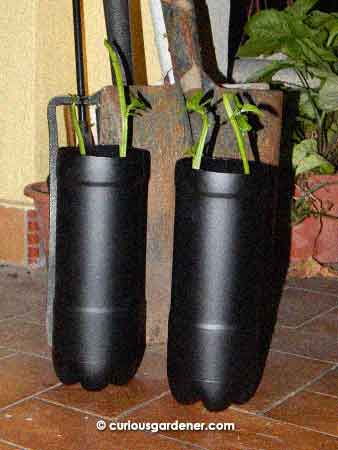
The end product – nifty looking recycled PET bottles having a second round at life as veggie pots!
So my little weekend project is done. Next time, I may consider adding a little conduit from above the surface to the stones so I can pour water directly into the reservoir and let it seep upwards.
© 2015 curiousgardener.com All rights reserved.