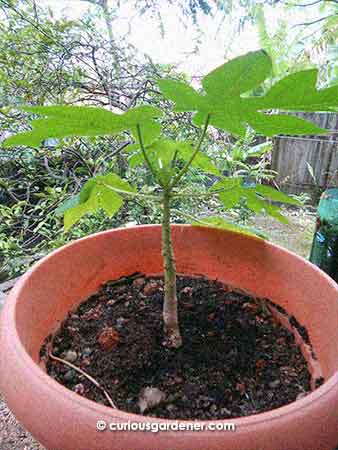
It was so promising a year ago when I transplanted this into the second, bigger pot…
I know that it’s been over a year that I happily proclaimed how I had successfully grown a Red Lady papaya plant from a stem cutting (read that post here). At the end of that particular event, the cutting in question had been growing in a small container. True to form, I left that plant in that small pot for a few months before I finally transplanted it to a bigger container; and still true to form, that plant remained in that bigger container for way too long – it got root bound, and the growing tip grew smaller and shorter until I frantically realised I was likely to lose the plant very soon.
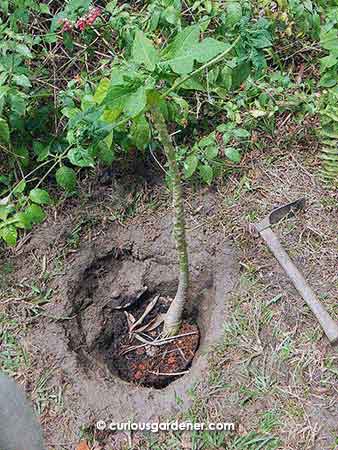
This was as deep as I could plant the papaya plant.
So, during the long Chinese New Year weekend where I told you I caught up with several of my long overdue gardening tasks, I finally planted out that papaya plant. Since I now know that the stem, like the tomato plant, will grow more roots given the opportunity, I dug as deep a hole as I could for the almost one metre tall plant – in this case, almost half a metre deep because that was where I hit hard clay. I wanted the plant to have as much new root growth possible so that it will hopefully be stronger. As we all know, root bound plants are stunted because their roots have reached the boundary of the containers and grow in tightening circles because they have nowhere else to go. I figured new roots would equal better growth – at least I hope so!
Prior to digging the hole, I watered the plant’s roots with a strong concoction of seaweed solution, because that helps plants to cope with transplant shock. It was also a rather hot day, and I wanted to give the plant as many advantages as possible, since I’d shortchanged it for so long. It absorbed its drink while I prepared the hole, and seemed happy enough when I plopped it into its new home in the garden. I had also poured about two litres of water into the hole beforehand to let the water soak into the soil – a nifty trick I learned from watching some BBC gardening shows.
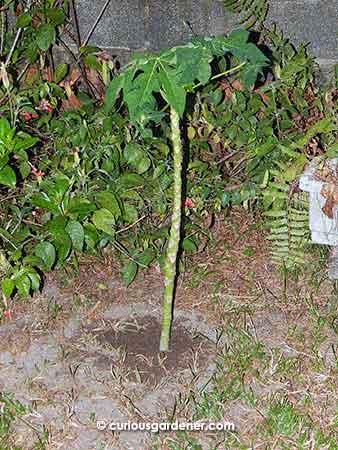
After planting it out, the stem looked quite thin and fragile to me. I wish I could have buried more of the plant…
When I backfilled the hole, I left a bit of a dip around the stem of the plant so that when I water it, it will retain the water around the stem where it will soak down to the roots instead of running off where it isn’t needed as much – also another trick I’ve learned recently from my forays into the world of permaculture. If I really wanted to keep the area around the plant moist, I could have added a good layer of mulch. However, papaya trees don’t enjoy wet soil, and I certainly did not want to risk making the stem below ground rot away!
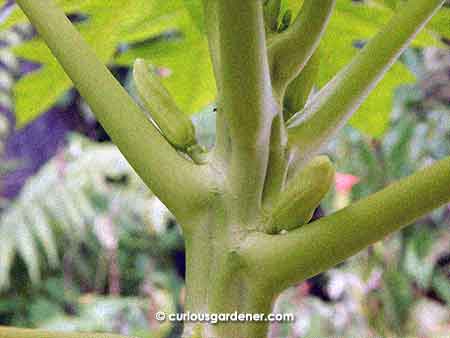
The latest flower buds look promising…
In the fortnight after the transplant, I was careful to water the plant only when the top inch of soil was completely dry. Finally, new leaves began to grow – bigger, healthier leaves. There were also some tiny flower buds at the leaf junctures, but they were really small, and all aborted. However, like the leaves, they have been increasing in size, and finally look normal. I think they will start blooming very soon! It will be wonderful if it starts bearing fruits, because this is grown from F1 seed, which you can’t propagate from seeds as they won’t be true to the parents. That’s the downside of using commercial seeds. So it’s nice that we managed to propagate this from the previous plant as it should continue growing the same way. Besides that, this is a hermaphrodite plant, so we don’t need to worry about pollination. Yay!
© 2015 curiousgardener.com All rights reserved.