
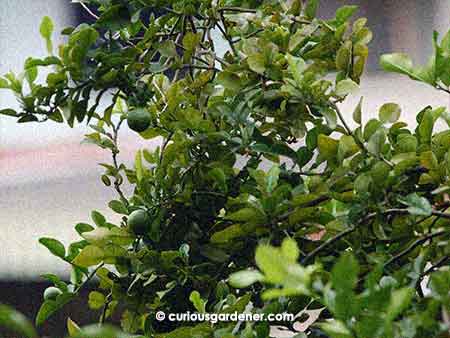
Here is our limau purut plant back in 2009. See what a healthy plant it was then?
Many of the plants in our garden are really old, and maybe past their prime, because they were planted years back when my dad was more active in the garden. The plant in question today is the limau purut – or kaffir lime.
This was planted sometime in the 1980s, if I remember correctly, and has had a very good run. It grew into a nice big tangle of beautifully scented leaves and occasional fruits, and has been a favourite perch for many birds. The problem now is that the curry leaf tree that is growing next to it seems to be choking it with a vengeance.
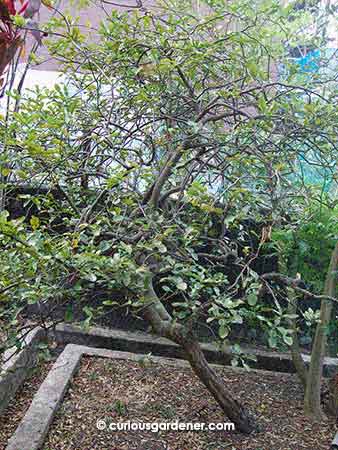
The limau purut plant now. The main stem and a couple of others, are beginning to rot, and it is not growing as many leaves as before. If you look at the right corner, you will notice a couple of plants; those are curry leaf plants that grew from the underground roots of the main tree.
I didn’t notice how dire its situation was until I recently looked at the trunk of the plant and saw that it was beginning to rot away. This called for some action. Fertilizers have not had a noticeable effect on the growth, so I decided to look into propagation – marcotting, in this instance.
I’ve never in my life tried to marcot a plant before, although I recall learning it in Biology class eons ago. So, after doing my research on the topic, I decided to just go ahead and try…
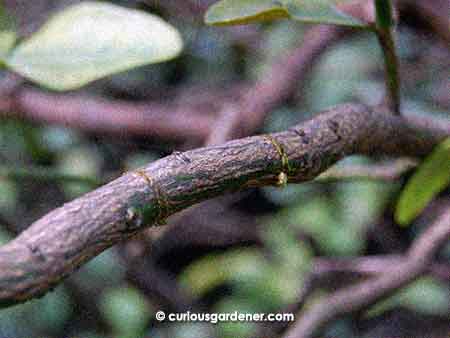
The first step was to choose a slightly woody stem and make a pair of light incisions through the bark.
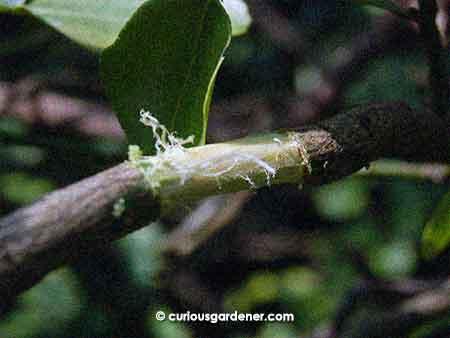
Next, remove the ring of bark between the incisions. I wasn’t too sure how deep to cut, and have my fingers crossed I didn’t do too much or too little. One source also recommended roughing up the exposed layer a little, so I did…
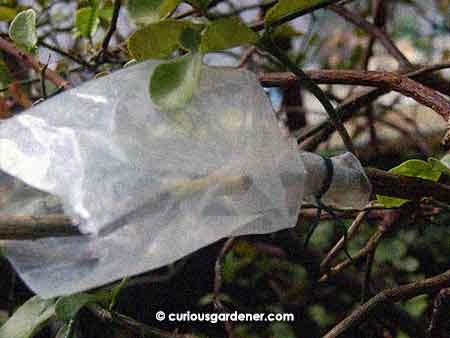
Next, I took a plastic bag and made a slit in the bottom that I then threaded the plant through. I twisted the end up and tied it up.
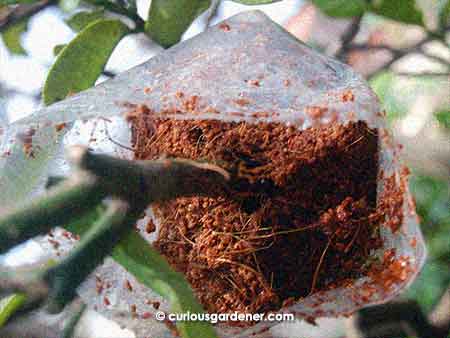
Just to be kiasu, I added some rooting hormone to the exposed layer, then stuffed the plastic bag with presoaked cocopeat. It’s damp, not soggy.
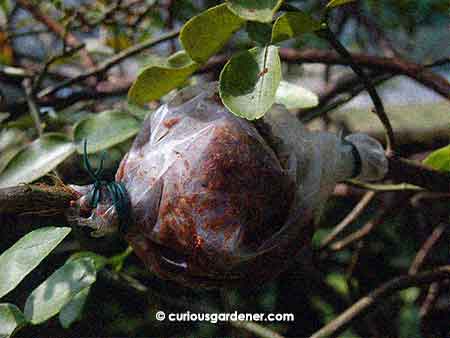
The final step – try to squeeze as much air out as possible (I doubt I did enough!) before sealing the top end as well.
Now, we have to wait several weeks to see if this works or not. I will probably try a couple more just in case this one doesn’t work, because I’m afraid the plant may not have much time left, judging from the amount of rot going up the main stem. It’s been a good tree and I’d like to try to keep it going if I can. Let’s hope I have something good to report in a couple of months. Silence on the subject usually means failure… ![]()
© 2014 curiousgardener.com All rights reserved.