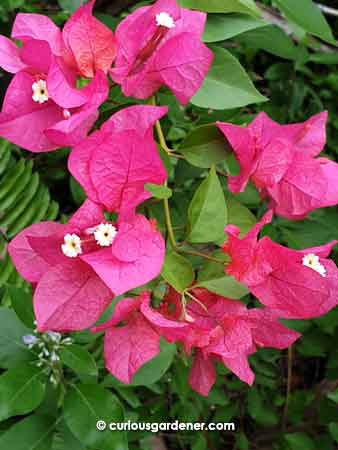
Dark pink bougainvillea – what I consider the more common colour
The heat is on, and our bougainvillea plants are loving it! Every other plant seems to be affected by the hot, dry weather – the lawn is turning brown in bigger and bigger patches, and flowering and fruiting plants are wilting by lunchtime. If we forget to water them for at least two days, there will be fatalities.
I normally despise our bougainvillea plants because I get scratched and poked by their thorny stems whenever I prune them. It doesn’t matter how thick the gloves are or how gingerly I handle the stems – the plants always get their revenge on me. However, the amount of colour that they provide in this weather is just gorgeous!
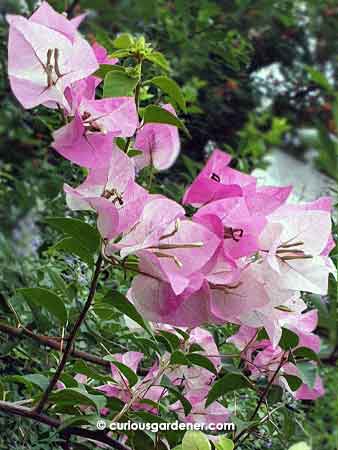
Sweet pink-and-white bi-coloured bougainvillea flowers
My dad was the one who chose the plants. I have to admit that he had a good eye for this selection of colours! Besides the standard purply-pink, there are a couple of shades of orange, and the lovely bi-coloured pale pink and white variety. I have no idea what their names are; we just go by colour. I suspect a couple of them were given as cuttings.
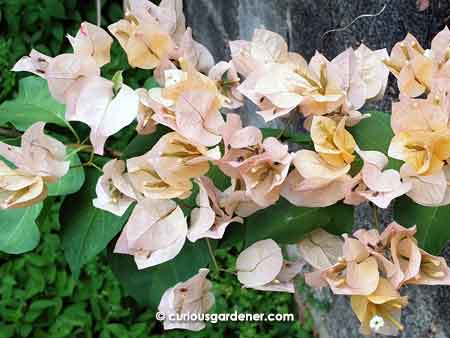
Pale peach bougainvillea flowers – not the most appealing colours to me, but certainly prolific when in bloom!
For years, I’ve been trying to figure out how to get the plants to grow in that nice compact shape, but have been thwarted by them because they seem to burst into bloom only when there’s a long gangly stem. I know that you’re supposed to prune the stem back after the flowers are done, but each time I’ve tried, they refused to to flower, and remain leafy only until they had grown nice long stems…
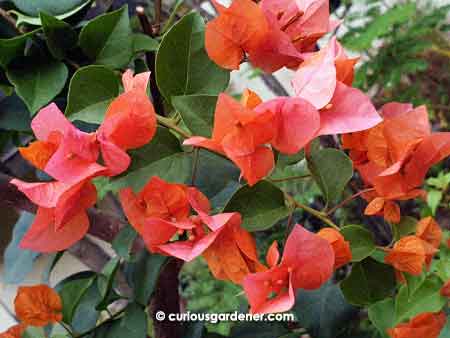
Dark orange, with a tinge of pink bougainvillea flowers – I quite like this colour!
Well, we’ve been through a few phases where for one reason or another, some of the plants have been pruned right back to a single, main stem, and I know from this experience that the plants are hardy and will start growing new stems even from a single, bare woody main stem. So I’ve become more adventurous. We recently planted on a couple of bougainvillea plants that had become pot-bound, and once settling them into bigger, roomier pots, I gave each plant a massive prune, just keeping short stems. It took more, regular maintenance than I’m used to, but one of the plants finally started taking the “bonsai” look. Thanks to the weather, we’ve got the beginnings of that compact flowering look I’ve been yearning after. The other re-potted plant – a purply-pink one - is stubbornly sticking to the “I’m only going to burst into bloom when I have long stems” attitude. We’ll see if we can come to a compromise or not…
© 2019 curiousgardener.com All rights reserved.