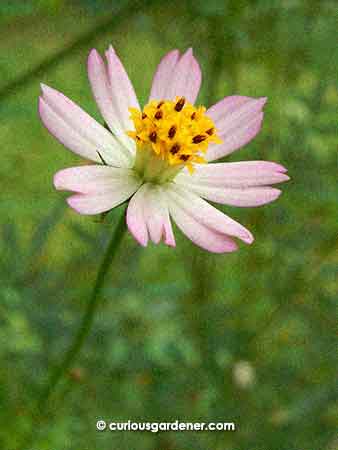
Cosmos caudatus flower
The first time I visited Alexius Yeo’s permaculture garden, a pink cosmos flower caught my eye. It had the typical cosmos flower shape but had pastel pink petals that lightened to white at the centre of the flower. It was so pretty that I got some seeds from him and started growing the plants immediately.
This plant is the cosmos caudatus, known in Southeast Asia as ulam raja – in Malay, it translates to “King’s salad”. It was introduced to the region by the Spanish, who brought it from Latin America.
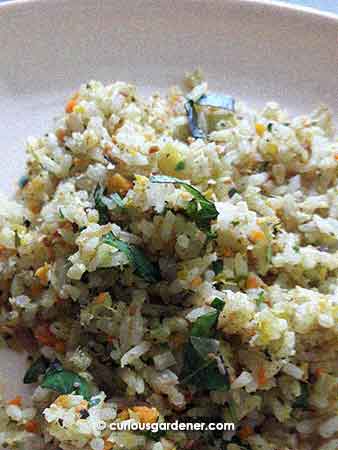
Nasi ulam
I should have known from the fact that Alexius was growing it, that this is an edible plant. The young leaves are used in salads in Indonesia and Malaysia, and in fact, we ate it in the mixed herb rice dish known as nasi ulam.
“Ulam” is a Malay word that seems to have several meanings that relate to eating salad with rice. In this instance, “salad” refers to a very wide range of plants, from herbs to leafy veggies to beans to fruits to roots, and they are prepared in various ways. However, this post isn’t about that. However, if you understand Malay, you can visit this page to read more about the ingredients of ulam. Just don’t try to Google Translate it because it’ll give you some really funny (odd yet humorous) meanings. There are pictures, though; those should help.
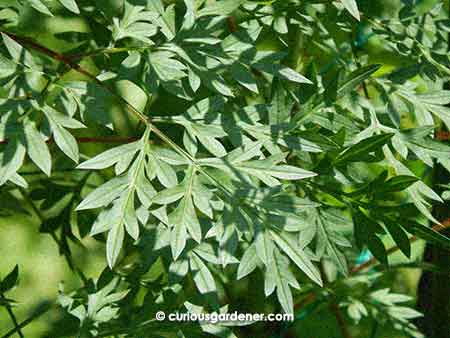
Ulam raja leaves – typical of the cosmos plants
Besides looking pretty, the ulam raja plant also has some interesting properties. It has reportedly been used in traditional medicine for centuries to treat metabolic disorders. The medicinal claims have been scientifically investigated over the last couple of decades and have been confirmed to reduce blood pressure and bone loss. It also increases good cholesterol and decreases bad cholesterol.
Cosmos caudatus is also said to have antibacterial and anti-fungal effects; it repairs blood flow and purifies blood of toxic substances. It is a strong antioxidant and reduces inflammation, and is being investigated to treat type 2 diabetes. You can read a more in-depth article on the uses of the plant here.
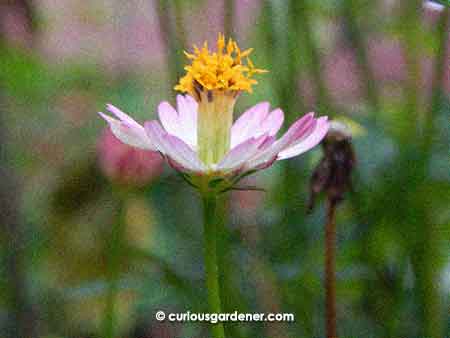
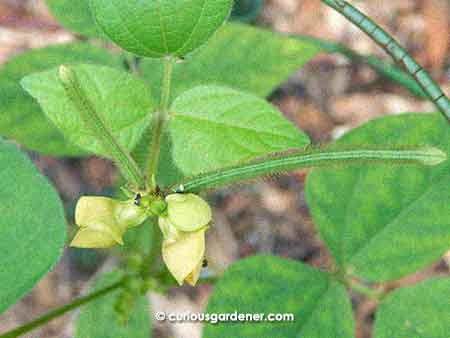
Side view of the ulam raja flower
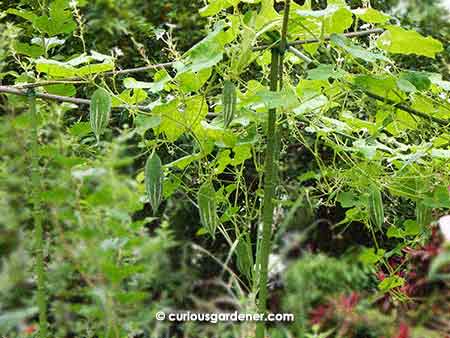
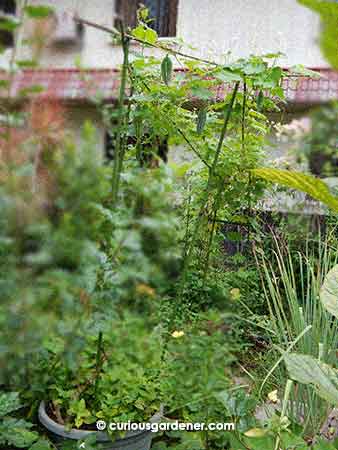
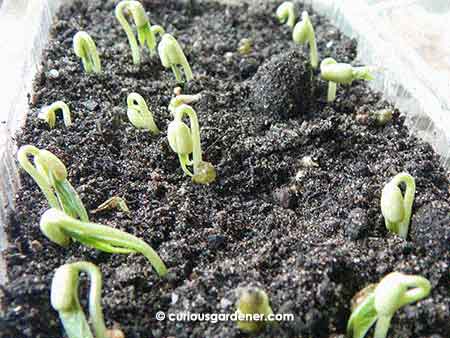
From the gardening point of view, this is an easy plant to grow. The seeds germinate readily and the plants seem quite hardy as they get no special care from me. A pretty cool thing about the plant is that the leaves close in at night, like the plant is “sleeping”. I guess it’s a photoreceptive thing, the same way a sunflower plant follows the sun during the day! Budding will start when the plants are over a metre high. The flowers go through the same routine as other cosmos plants – they bloom and produce seeds that can self-sow readily. Some people say that this can make the plant invasive, but it’s too early for me to know. The same can be said of all cosmos plants, but I’ve had instances of the plants dying off. Let’s see if this variety is more hardy than the yellow and orange ones. Stay tuned!
© 2017 curiousgardener.com All rights reserved.